Mobile 개발/RN(React Native)
RN TroubleShooting: react-native-vector-icons ios 적용
히핑소
2020. 11. 2. 21:54
반응형
react-native-vector-icons 을 ios 에 적용하는 방법 공유합니다.
아래 내용대로 따라하면 별 내용 아니긴 한데,
expo 로 구현한 코드를 react-native cli 로 옮겨타면서 해맨 부분 정리 하고 넘어갑니다.
(expo 는 아래 작업이 불필요함)
github.com/oblador/react-native-vector-icons/blob/master/README.md
oblador/react-native-vector-icons
Customizable Icons for React Native with support for NavBar/TabBar, image source and full styling. - oblador/react-native-vector-icons
github.com
Installation
npm install --save react-native-vector-icons
iOS
Option: Manually
- Browse to node_modules/react-native-vector-icons and drag the folder Fonts (or just the ones you want) to your project in Xcode. Make sure your app is checked under "Add to targets" and that "Create groups" is checked if you add the whole folder. Not familiar with Xcode?
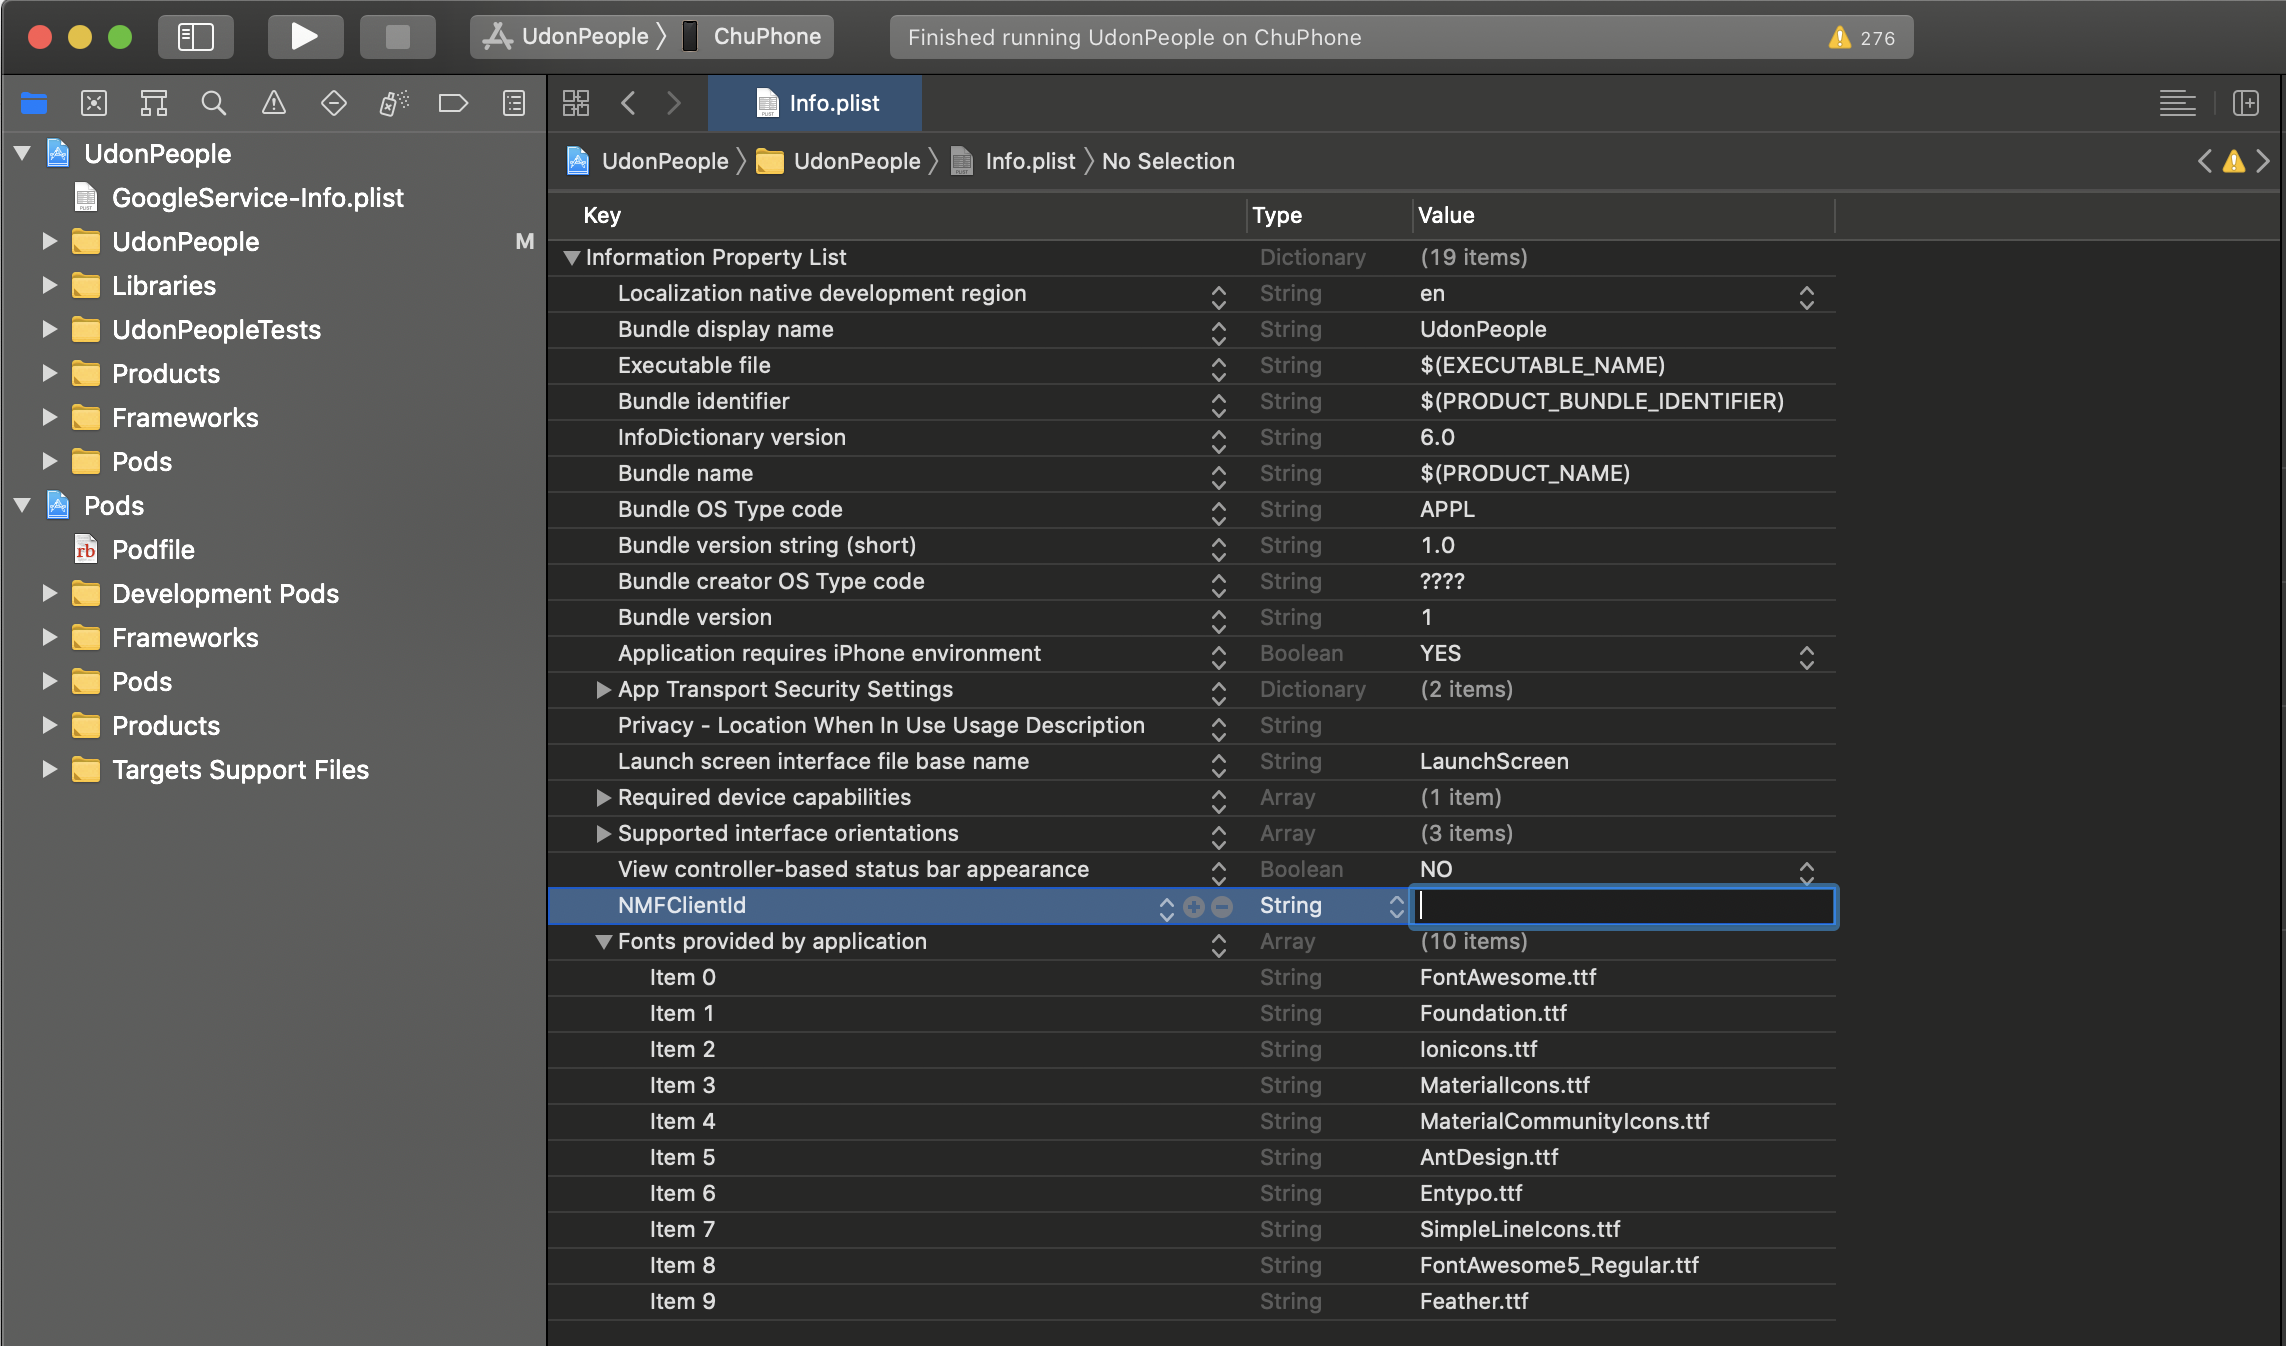
- Edit Info.plist and add a property called Fonts provided by application (or UIAppFonts if Xcode won't autocomplete/not using Xcode) and type in the files you just added. It will look something like this:
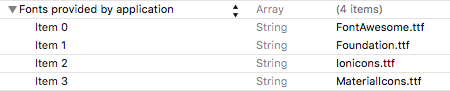
List of all available fonts to copy & paste in info.plist
아래와 같이 info.plist file에 적용 하면 정상적으로 디바이스에 적용되는 것을 볼 수 있음.
반응형